Using the Setup menu > Orders > General > Hawkstone Lens Catalogue
To create your own Custom Lens Catalogue, click into Menu - Setup >Orders > Hawkstone Lens Catalogues and choose + Create Custom Catalogue.
(At the top of the screen on the blue bar)
- Type the name of the catalogue you want to create.
- Confirm.

The catalogue will then appear in your list, with the tick-box "Custom" at the end of the table ticked. You can now click to the My Lens Catalogue window.
Two options here: Firstly, Add specific lenses individually by clicking on Add Custom Lens
Secondly, Add all or part of exisiting catalogues to your custom one in one go.
First Option
- Choose your catalogue from the drop-down and the button
- + Add custom lens
- The box which appears will be the same as the one used for updating manufacturer lenses, but will obviously be blank. (This is shown under How Do I Update Lens Data?)

There is also a quick Add Lens option when creating a Dispense, but the details entered here are less exhaustive.
Second Option
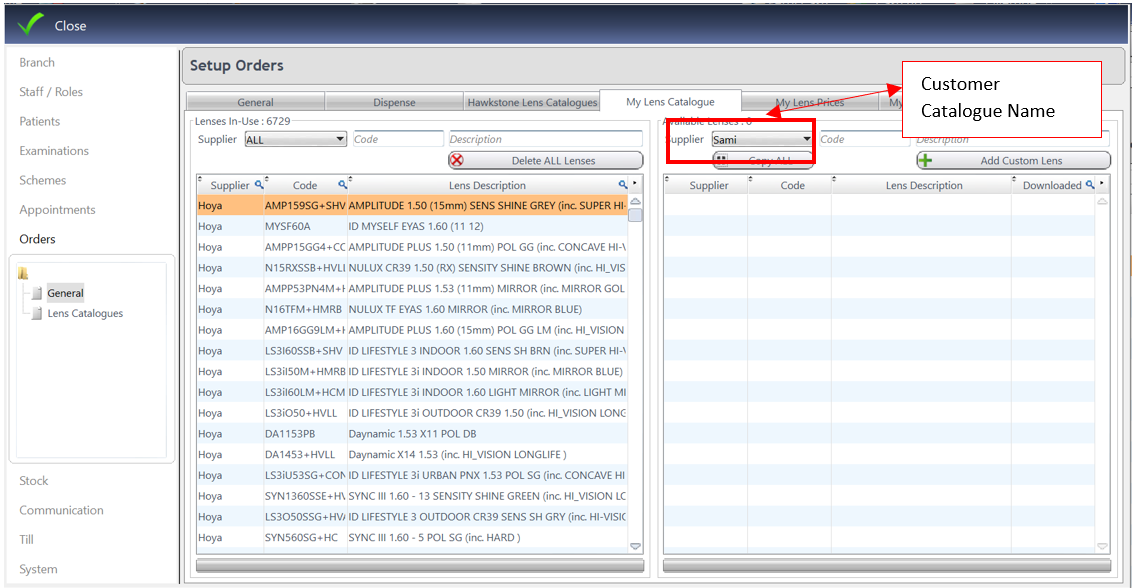
- Select the already downloaded hawkstone catalogue on the right of the screen
- On the left of the screen select your custom catalogue (As below)
- Select the lens or lenses you want to add to your custom catalogue by holding the CTRL key down and clicking on the required lenses.

- Then Right Click one of the lenses and select Copy to Custom Catalogue
- Select the custom catalogue name
- Yes Yes to Copy when asked...

- All selected lenses will now appear in the custom catalogue on the left of the screen.

- These lenses will now be available when the custom catalogue is used during dispense. (as example below)
