This guide will walk you through how to create a new frame
The following guide will be within the NOVA Stock screen. To navigate there go to the following:

1. Stock
2. Frame
Creating a new frame
Click on the '+New' button in the top right corner of the frame screen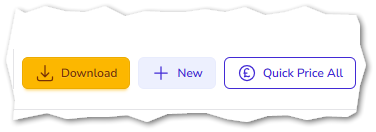
Once this has been done, you will see a new screen with empty fields.
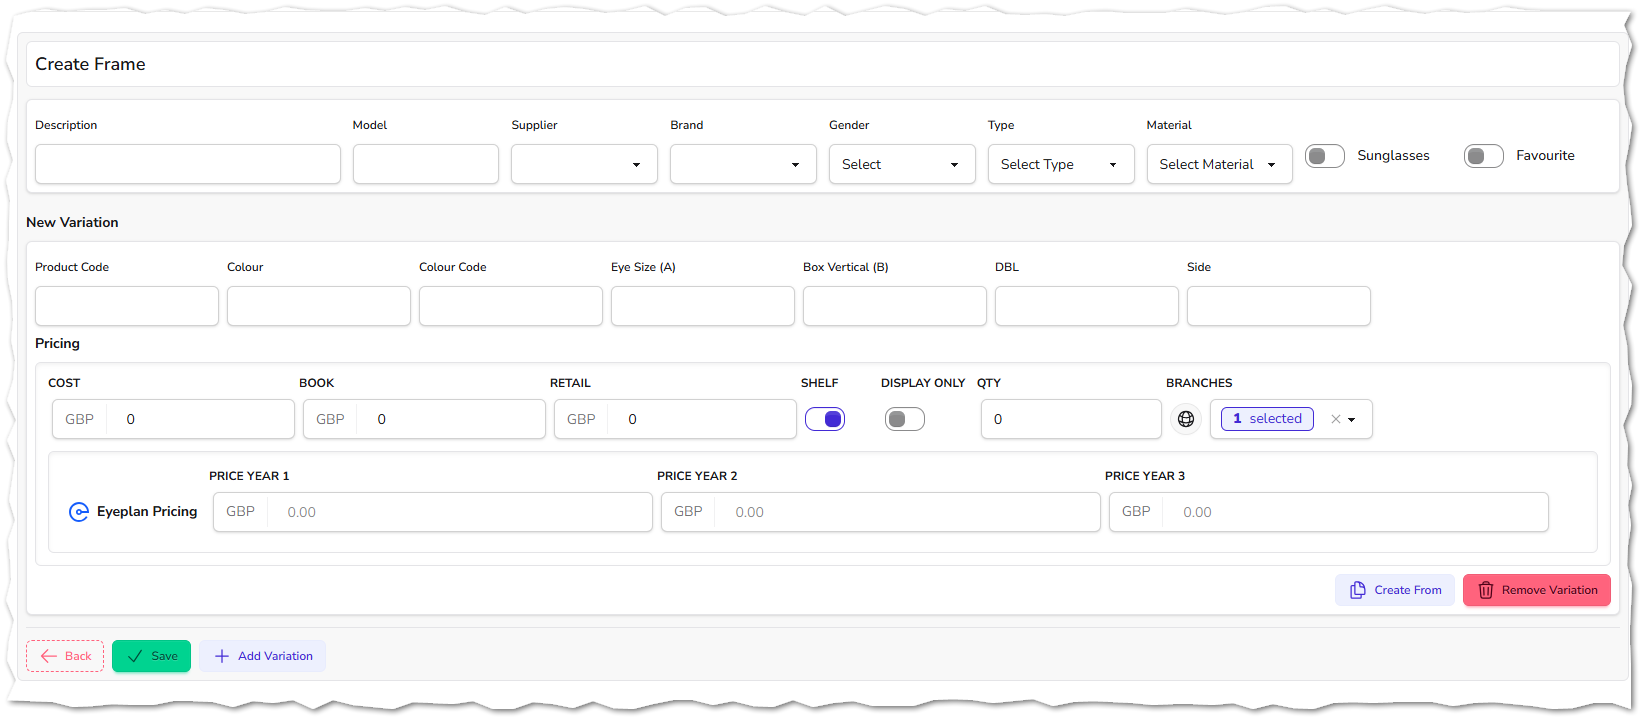
There are certain fields that are required to contain information:

Description
Model
Supplier
Model
What you will see at the top portion of the screen is the 'stock header', which is the overall description of the frame. What you will see below is the variation, which could be a size variation or a colour variation, for example.
In the description and model fields, you are able to free-type. However, the supplier, brand, gender, type and material are drop-down boxes which originate from the stock settings screen.
Here is an example of how it can look:

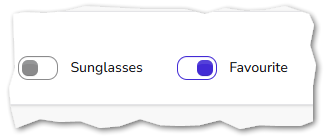
You will notice that there are two toggles on the right of the screen called 'sunglasses' and 'favourite'
Toggling sunglasses tells NOVA that the frame you have created is a sunglass frame.
The favourite toggle means that this frame will appear at the top of lists e.g. when looking at frames within the dispense screen.
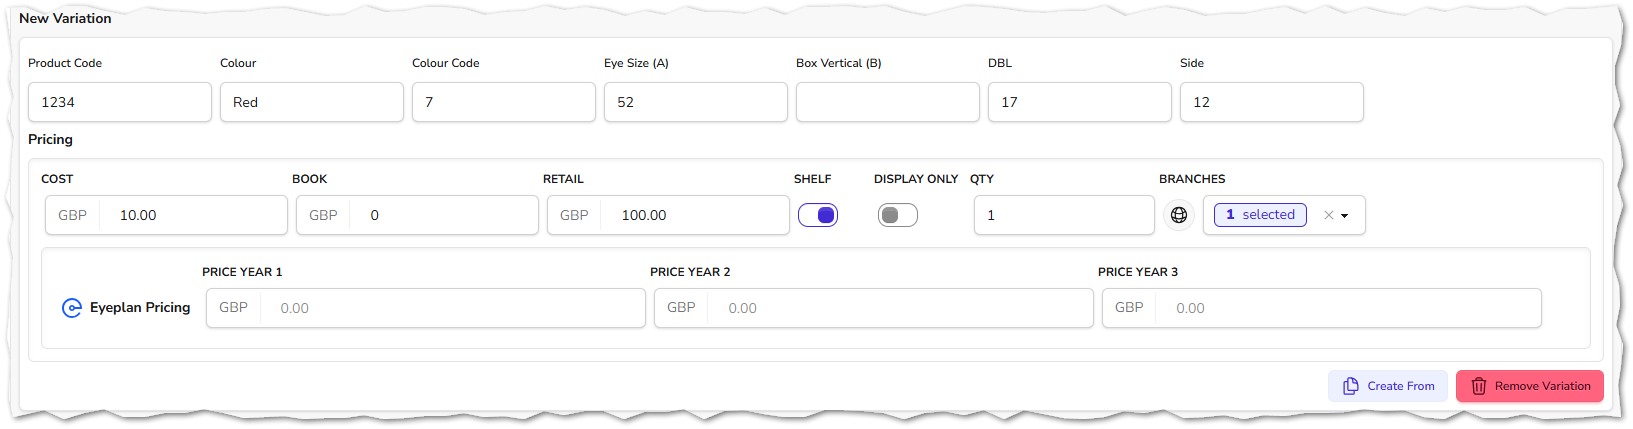
In the main part of the screen you will see the section called 'new variation'. As mentioned before, this section is where you will need to put variations of that frame e.g. size or colour.
You will need to fill in the appropriate boxes for the variation you are creating.
Be sure to choose whether this item is going to be a shelf item or not. If it's marked as a shelf item, NOVA will monitor the stock quatities - this is best practice for frames or items that you need to monitor quantities.

If it's marked a non-shelf item, NOVA will keep selling it and not monitor the quantity - This is usually selected when creating stock items like clinical fees - where stock quantity aren't needed.
If you use the Eyeplan integration with NOVA you will see three extra boxes called Eyeplan Pricing, this is where you will need to set the retail price of the stock item according to the Eyeplan year.
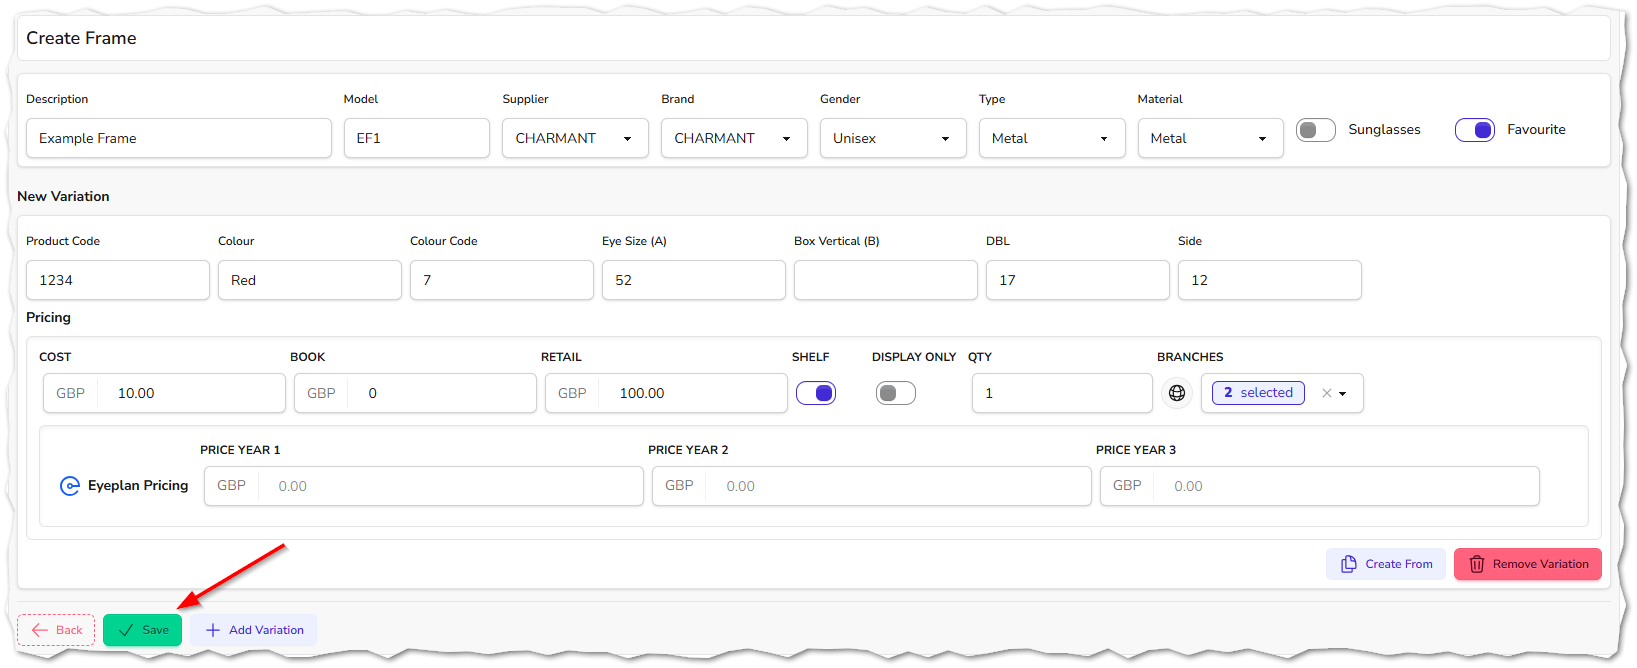
As you see below, the fields have been filled where necessary
If you are a multi-branch practice and you want to create this new frame for more than one branch (the branch that you are logged in as), select the drop-down and choose the appropriate branches from within that list. As seen below:
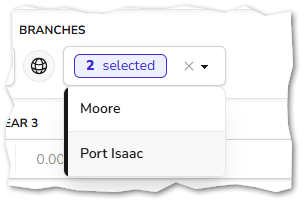
As you can see above, there is a black line down the left side of the branch name to indicate that the branch has been selected.
Once you are happy with all the information you have entered, click on the save button in the bottom left corner of the screen:
This will now display the edit frame screen, giving you the information you have entered and a chance to change anything you need (more on editing existing stock items here). If nothing needs to be changed, then press the save button again, and it will take you back out to the main stock list screen