To book an appointment, double-click the time-slot you wish to book a patient in to. Tip: if you hover over the slot before you double-click it, the length will be shown. Once double-clicked, the box below will appear:

Start typing some details into the Search Px box. If you already searched for a patient through The Home Screen, their details are already on your screen. You can search for a patient in just the same way as the home screen, including using:
• The patient reference number
• The patient surname (or the first name, by putting a comma first, e.g. “,sam”)
• The first three letters of the Patient surname and first name. For example, for Sam Heath, search Hea,sam or Heath,Sam
• The patients home or mobile telephone number or
• The patients address or postcode.
The patient details will be shown in the bottom third of the window. If the patient is new, check the box New Px. The bottom third of the screen then becomes editable.
You can also press Update Patient in the top of the window to open up these fields.
The Appointment Length, Appointment Reason and Returning Reason can be set in the top-third of the window. The appointment length will default to that of the slot, but as you update appointment reasons, the relevant length will be shown. Choose the relevant answers from the drop-down menus. Below is an example of a searched for record:
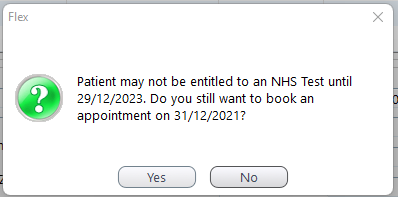
Stars are also shown, along with all the details you could need at a glance. Note: If a patient is trying to book an NHS test, but they are not yet due, FLEX will warn you.
Next up, lets look at how to Modify an Appointment