The options discussed on this page are found by selecting Menu --> Setup --> System --> PC --> Dymo Labels
FLEX allows Dymo labels (sometimes known as address labels) to be printed and stuck to stock items or envelopes (normally contact lens orders and correspondence). Please see the Patient Record screen for details on how to print the labels out. This section details how they are set up.
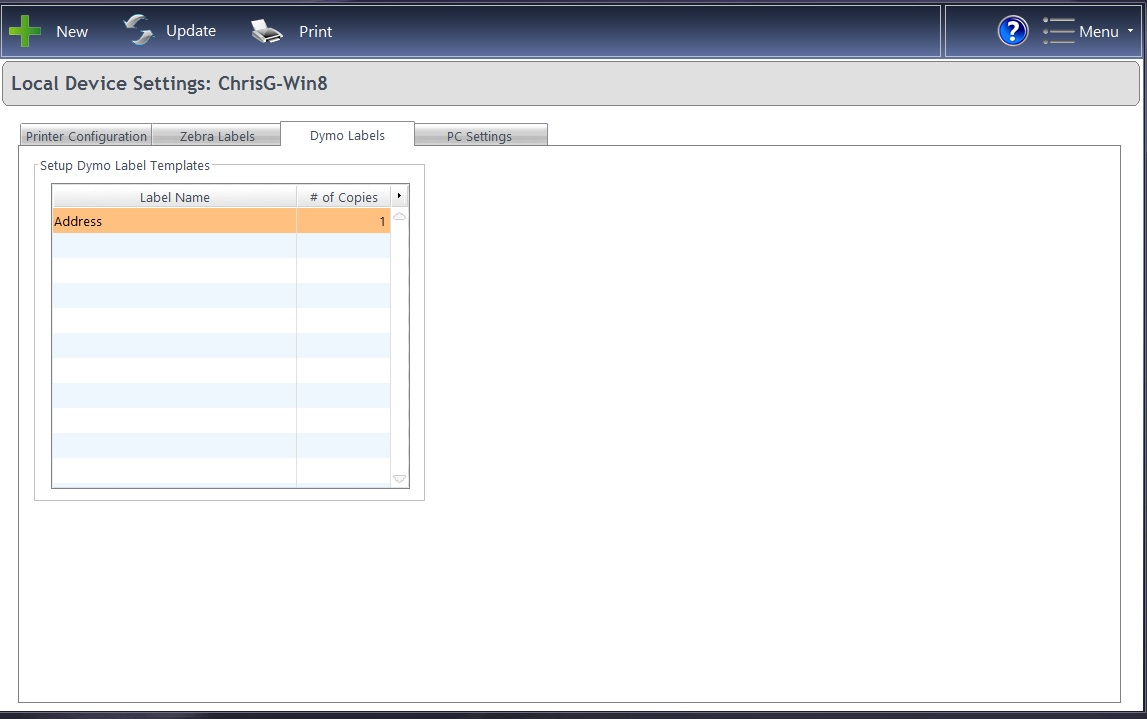
Under Menu – Setup – PC – Dymo Labels, you will see the following screen:
Press Update to access further details.

To create the labels you want, you will have to use the DYMO software which came with your DYMO printer. You will create “Fields” (text boxes) where you want them and save the label to your computer. The text content of these labels isn’t overly important, it’s their positioning and size which is key.
Press Load Label and navigate to the label you just saved on your machine. The label can be imported and the fields (text boxes) you saved will appear in the Name of Text Control column.
In the Name of Merge Field column, you can then add your own text or copy across a Merge Field with the relevant details. In a similar fashion to Letters, Emails, SMS Messages and GOS Forms, Merged Fields can be dragged across into the code to create the label you want. Enter or update the Label Description and press Save.
Press Print to see what this label will look like. It will print the details of the most recent patient you accessed in FLEX. If you have no Active Patients, it will use the details of the first patient in your database.
When you are happy with your work, press Save.