The options discussed on this page are found by selecting Menu --> Setup --> Till --> General --> Till Button Layout
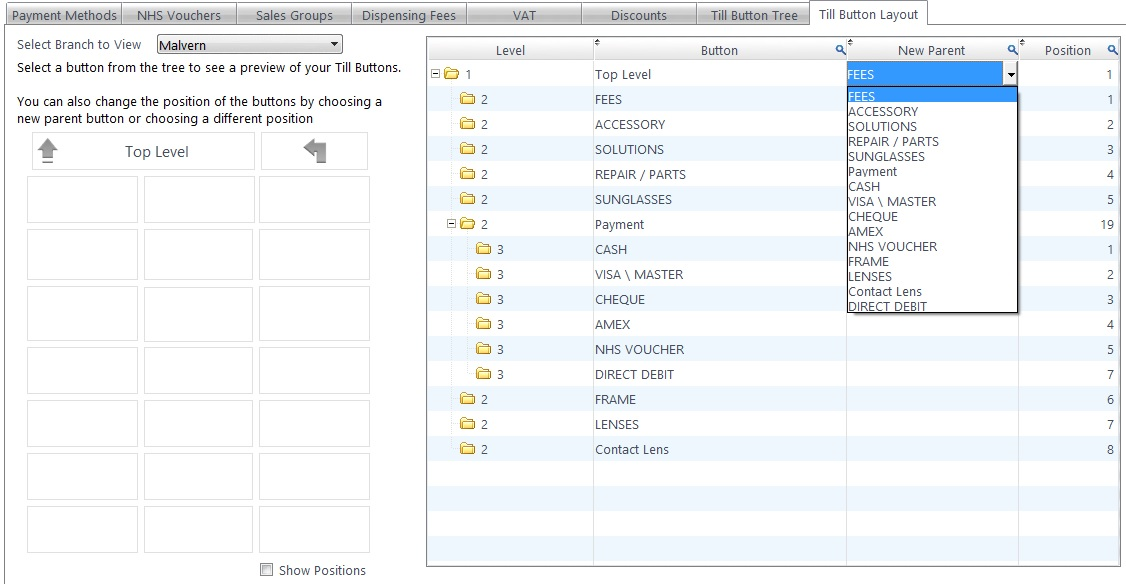
The Till Button Layout can be set so it is as easy to use as possible. FLEX RDP users can Select Branch to view at the top-left of the screen. A New Parent can be set for each Button. This means you can change which button a button appears under, for example "Cash", "Cheque" and "Card" are often under "Payments".
Most commonly, this screen is used to set its Position on the Till . The position numbers run from left to right, row by row up to 21. Tick the check-box Show Positions to see these on the left-hand side. Make sure you don't have two buttons in the same position, as only one can be shown in each place.
Click into the Position column and enter a new location as required.